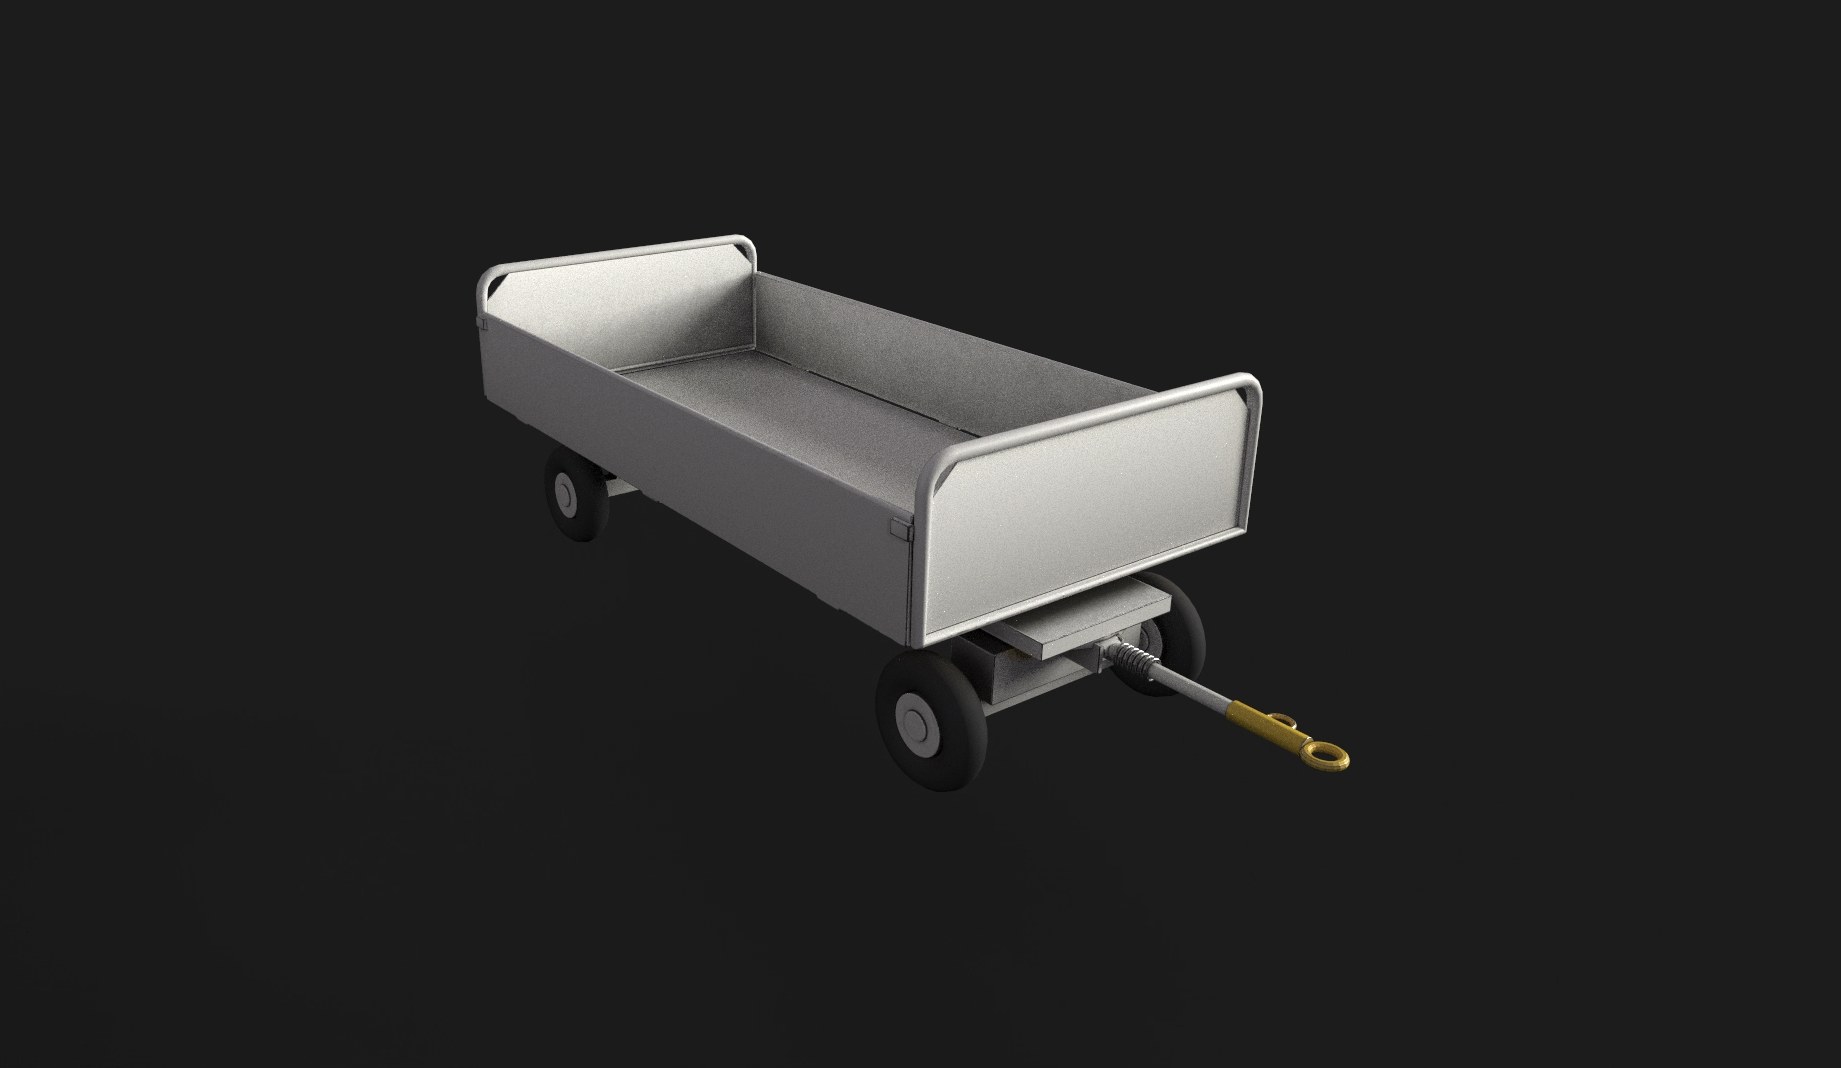
A game-ready, rig-ready airport baggage cart at real-world scale, built as a companion to my A320 nose landing gear. Eight moving parts with their pivots at the real hinge points, three PBR texture sets, and a vehicle readiness check I added to my Blender audit tool.
Drawbar hinges4,564 tris, cut from 21,300Front axle steerson a turntable, carries wheels and drawbarSide panels drop0 to 180°, pivot at the real hinge405 × 156 × 123 cmfrom published dimensions
Overview
I modelled this cart after a common open baggage cart used at North American airports, working from published dimensions: a 10 × 5 ft deck, 24 in end panels and 5.70-8 tyres. Every other measurement came from scaling reference photos against those numbers.
The goal was a vehicle a rigger or a Blueprint could use straight away. The front axle steers on a turntable and carries the front wheels and drawbar. The drawbar hinges, all four wheels spin about the same axis, and both side panels drop flat. Each moving part has its pivot at the real hinge point, with rotation and scale applied.
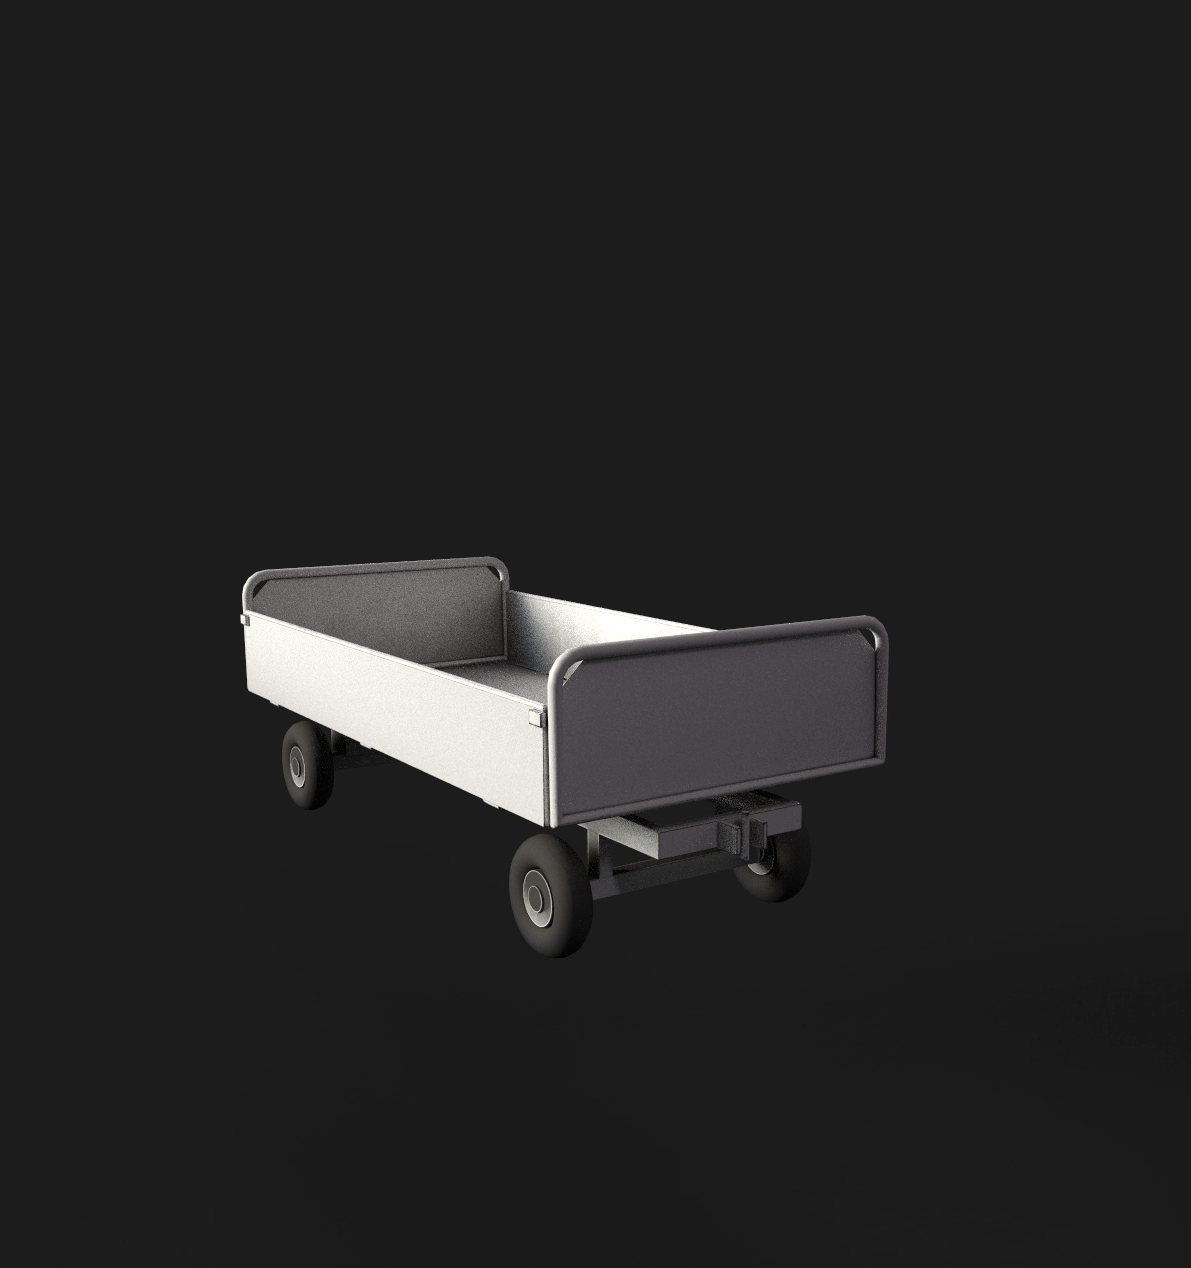
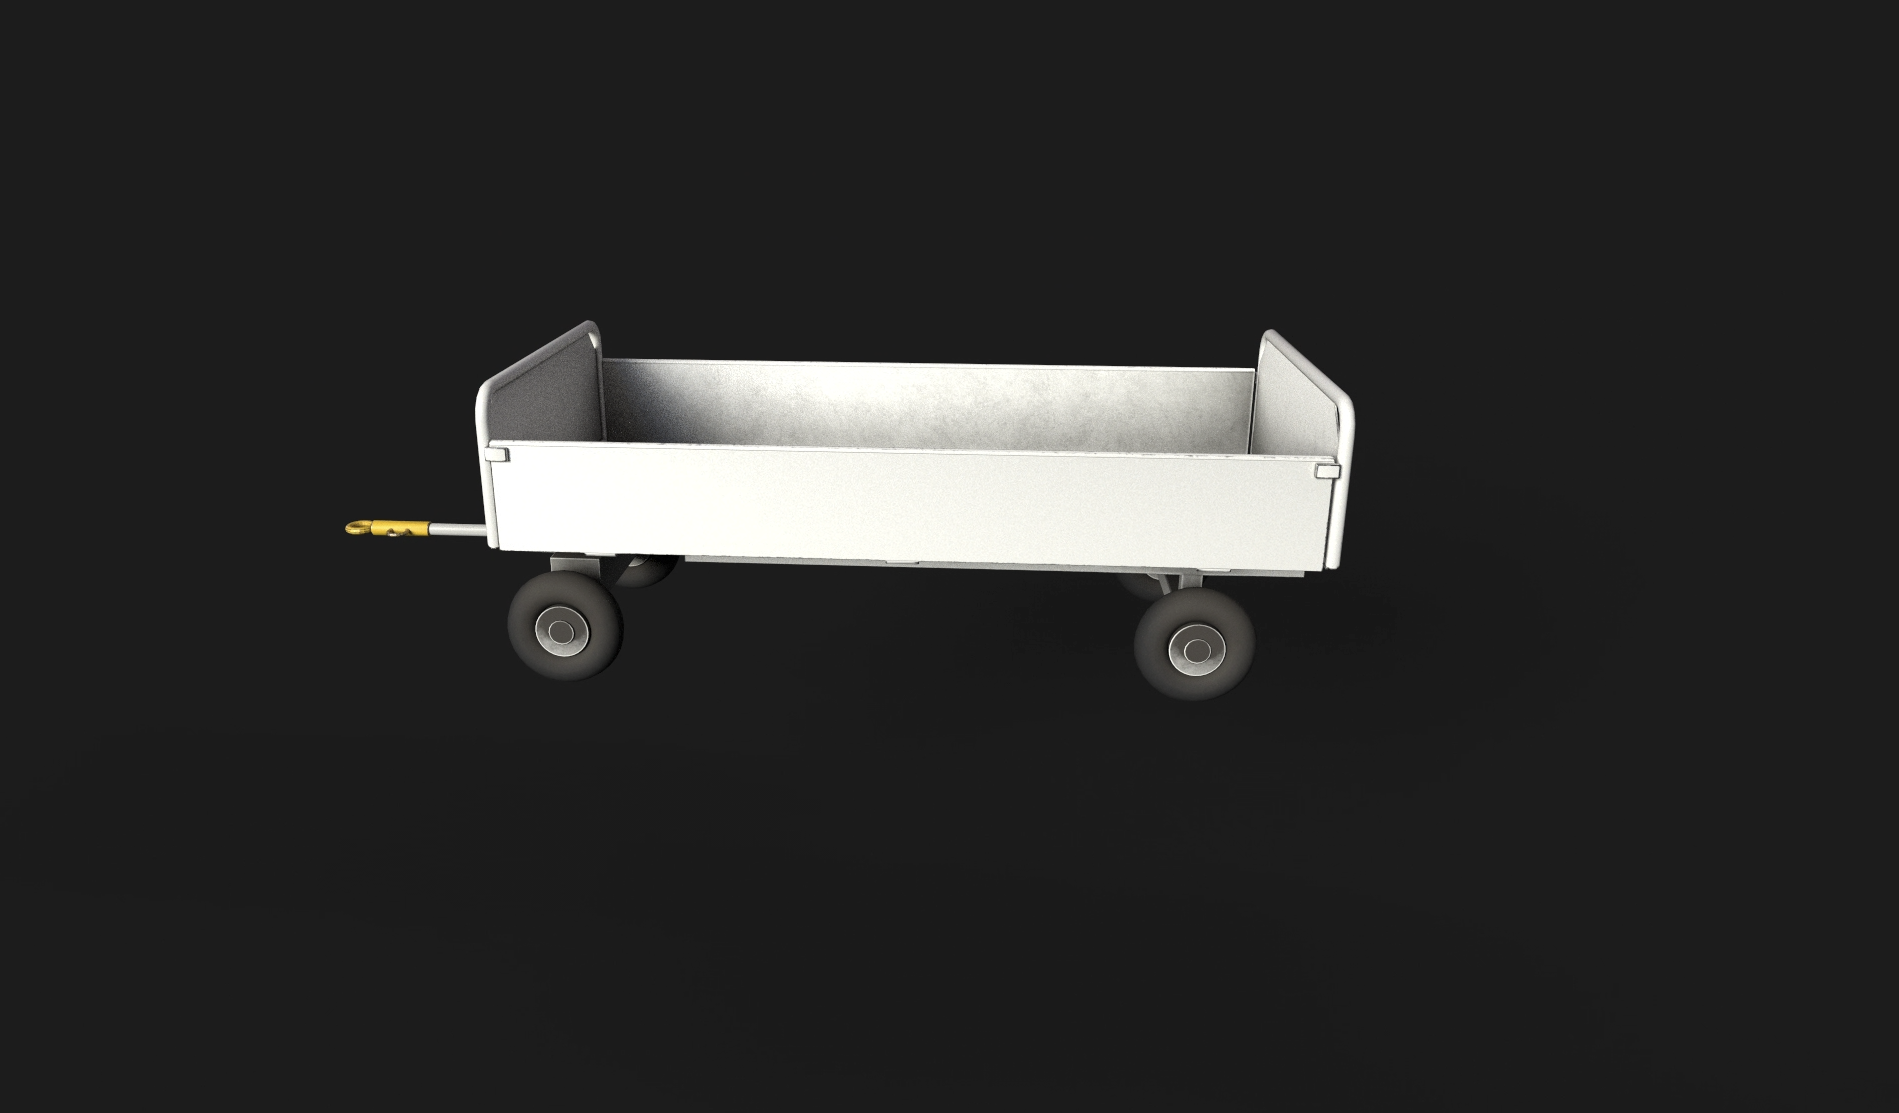
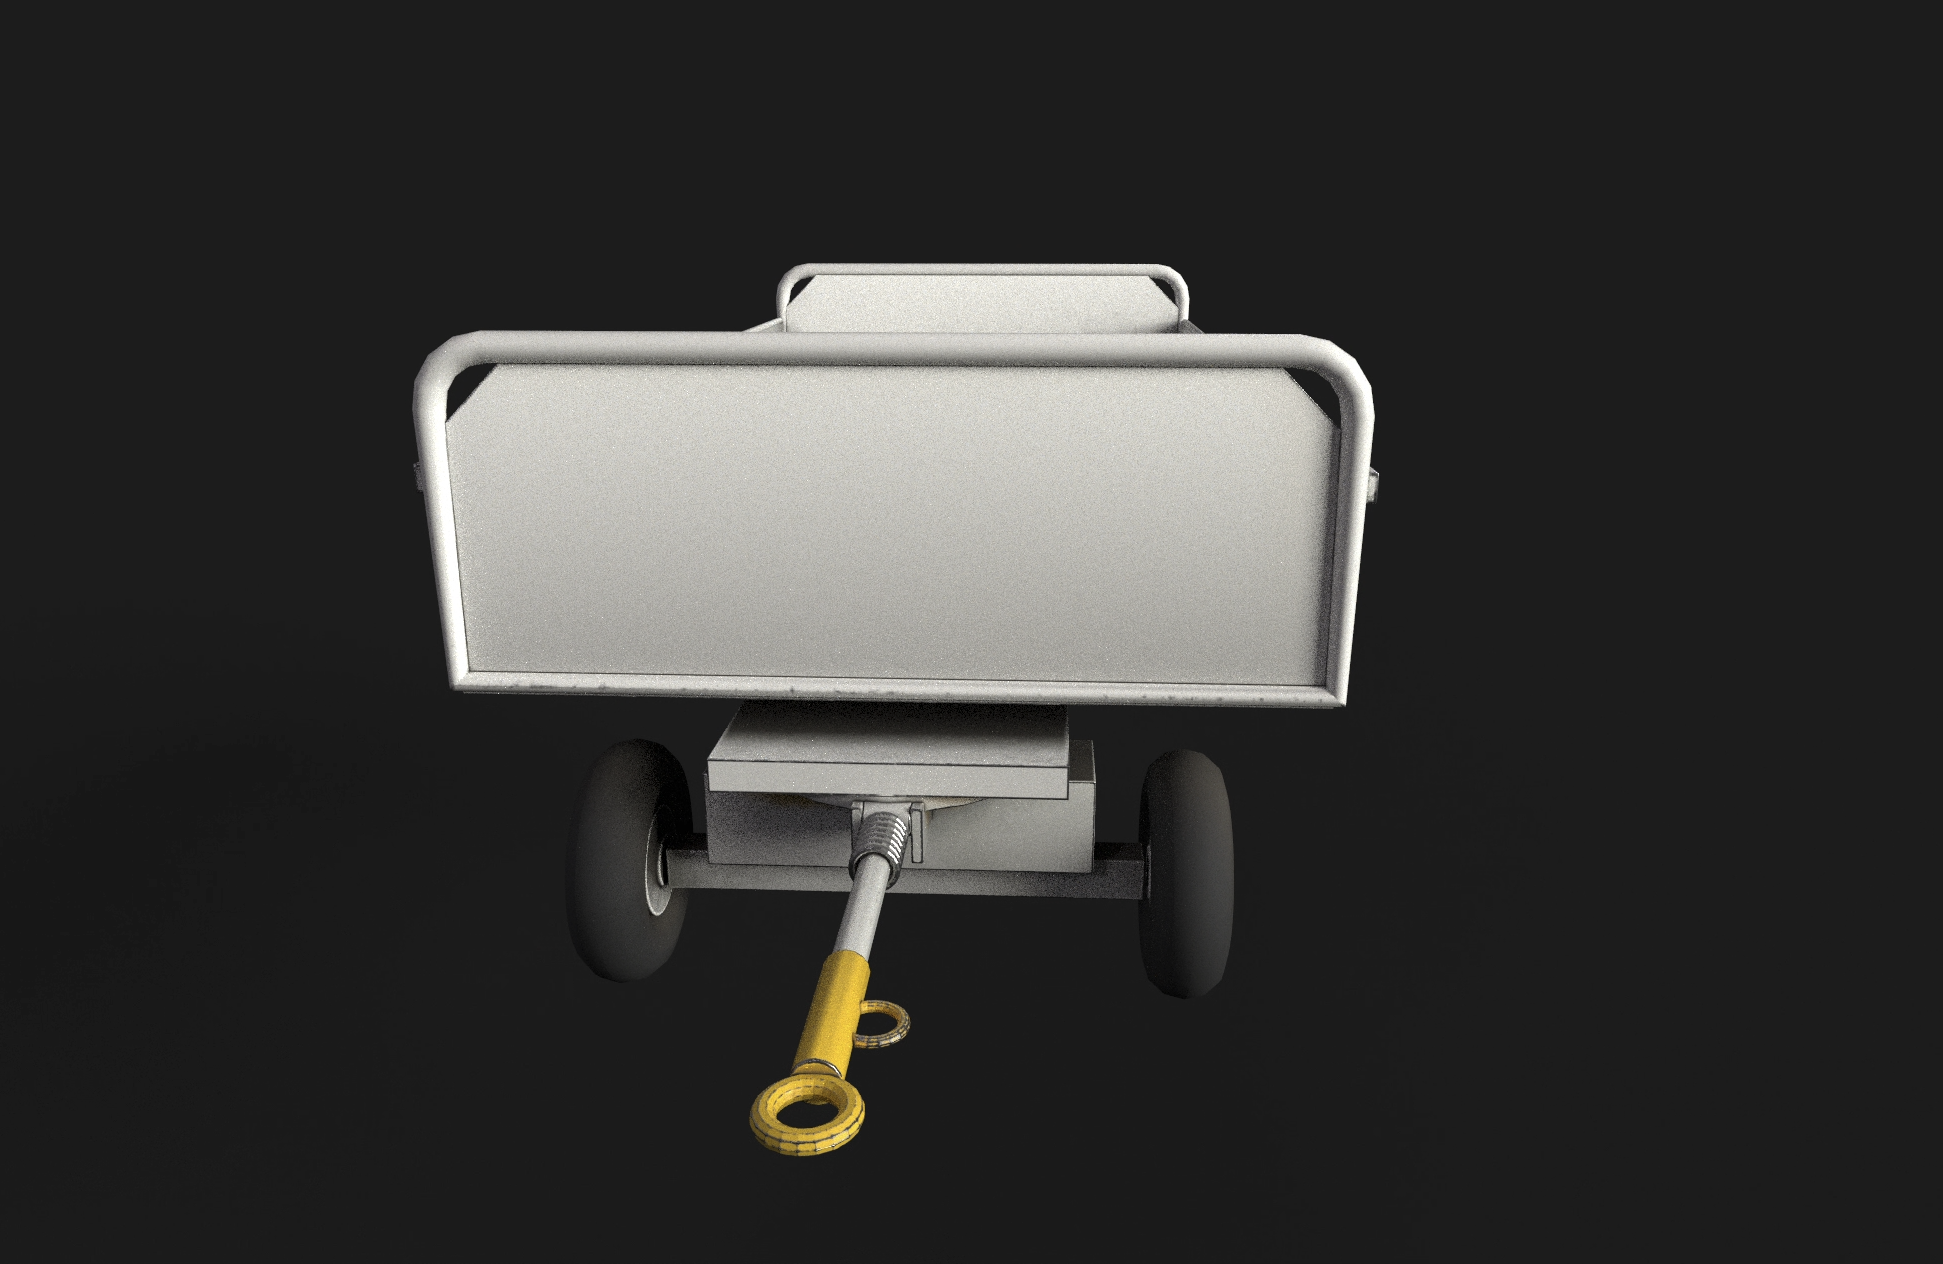
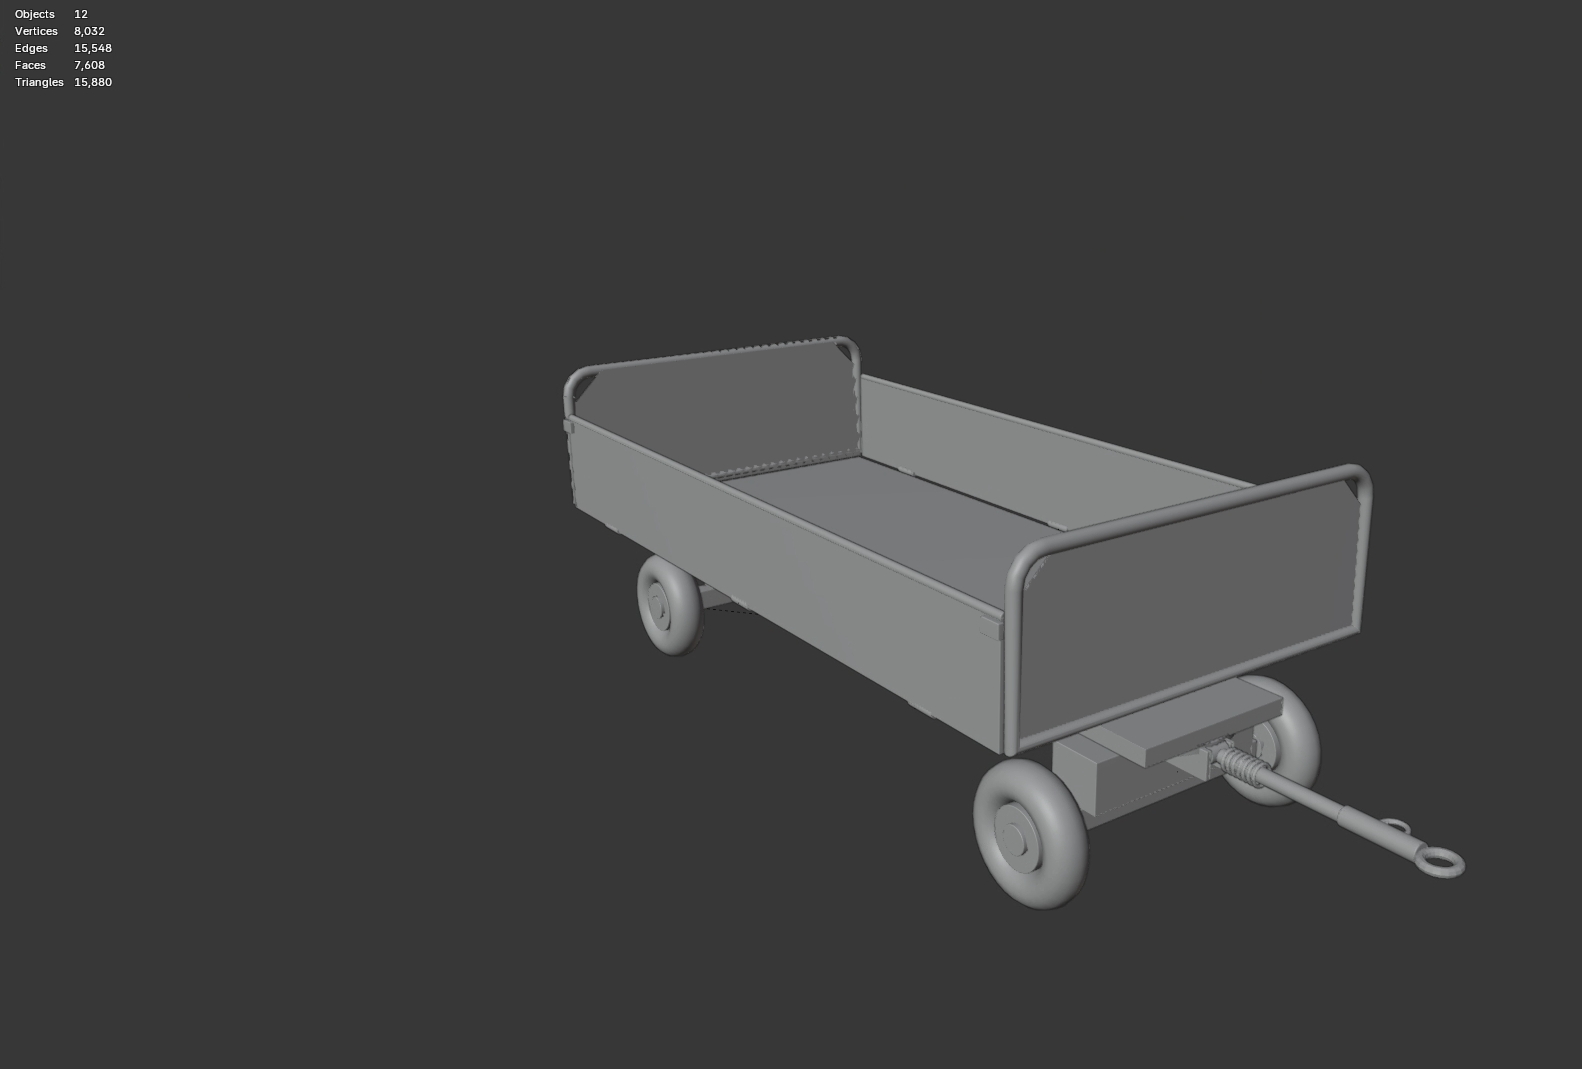
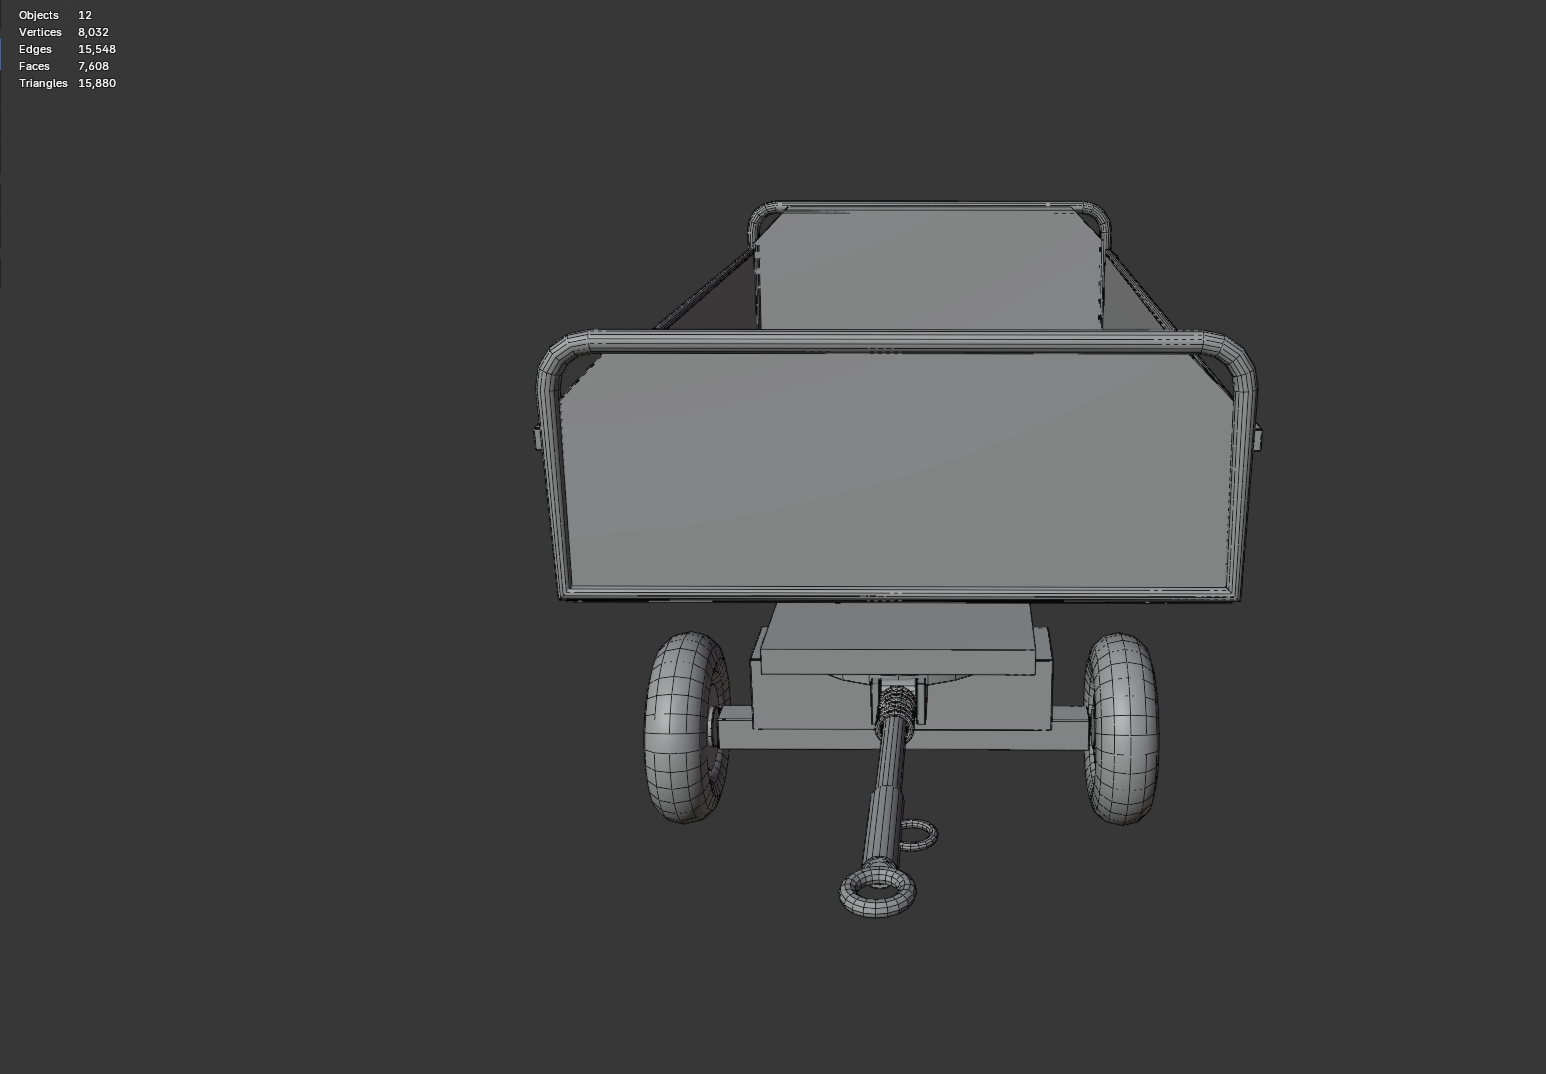
Rear three-quarterSide profile, full lengthFront view · drawbar and tow eye
Drive it yourself
This is the real cart, loaded from the same file I'd hand to a rigger. Drag to orbit, then steer it, lift the drawbar, drop the panels and step down through the LODs. The triangle count is read live from the file you're looking at.
Scroll here to load the 3D cart.
Level of detail · tris
View
The texel checker swaps every texture for one 16 × 16 grid, so bigger squares mean lower texel density. It shows why the wheels (22.8 px/cm) look sharper than the deck (3.3 px/cm).
Reference and scale
The reference board started as a mix of carts. Five of the eight photos showed the same drop-side design, so I built that one cart only, rather than a made-up hybrid. Four published numbers set the scale, and everything else was measured off photos scaled to them.
DECK
304.8 × 152.4 cm (10 × 5 ft)
END PANEL HEIGHT
61 cm (24 in)
TYRES
5.70-8 · 46 cm across, 14.5 cm wide
WHEELBASE
242.4 cm, axle centre to axle centre
TRACK
104 cm, wheel centre to wheel centre
AXES
Front −Y · left +X · Unit Scale 0.01
The side-on photo was first scaled to the image frame instead of the deck, and it had a slight tilt. The tyre didn't come out at 46 cm, which is how I caught it. Rescaling uniformly to the deck and rotating it −0.9° lined everything up.
Rig-ready hierarchy
Everything sits under one root Empty, SM_BaggageCart. The front axle is the only part with children, so steering it carries the front wheels and drawbar with it. Every object and its mesh data are named SM_BaggageCart_<Part>, and with rotation and scale applied, each part's location is its pivot.
Part
Parent
Pivot (x, y, z) cm
Motion
Chassis
Root
Root
Static
FrontAxle
Root
Kingpin
Steers on a turntable
Wheel_FL
FrontAxle
(52, −113.9, 23)
Spins
Wheel_FR
FrontAxle
(−52, −113.9, 23)
Spins
Drawbar
FrontAxle
(0, −138.4, 44.2)
Hinges up and down
Wheel_RL
Root
(52, 128.5, 23)
Spins
Wheel_RR
Root
(−52, 128.5, 23)
Spins
SidePanel_L
Root
(76.2, 18.9, 62.2)
Drops outward 0 to 180°
SidePanel_R
Root
(−76.2, 18.9, 62.2)
Drops outward 0 to 180°
The plan had the side panels dropping 90°. The real cart's panels fold all the way down against the frame, so they open a full 180°.
Modelling approach
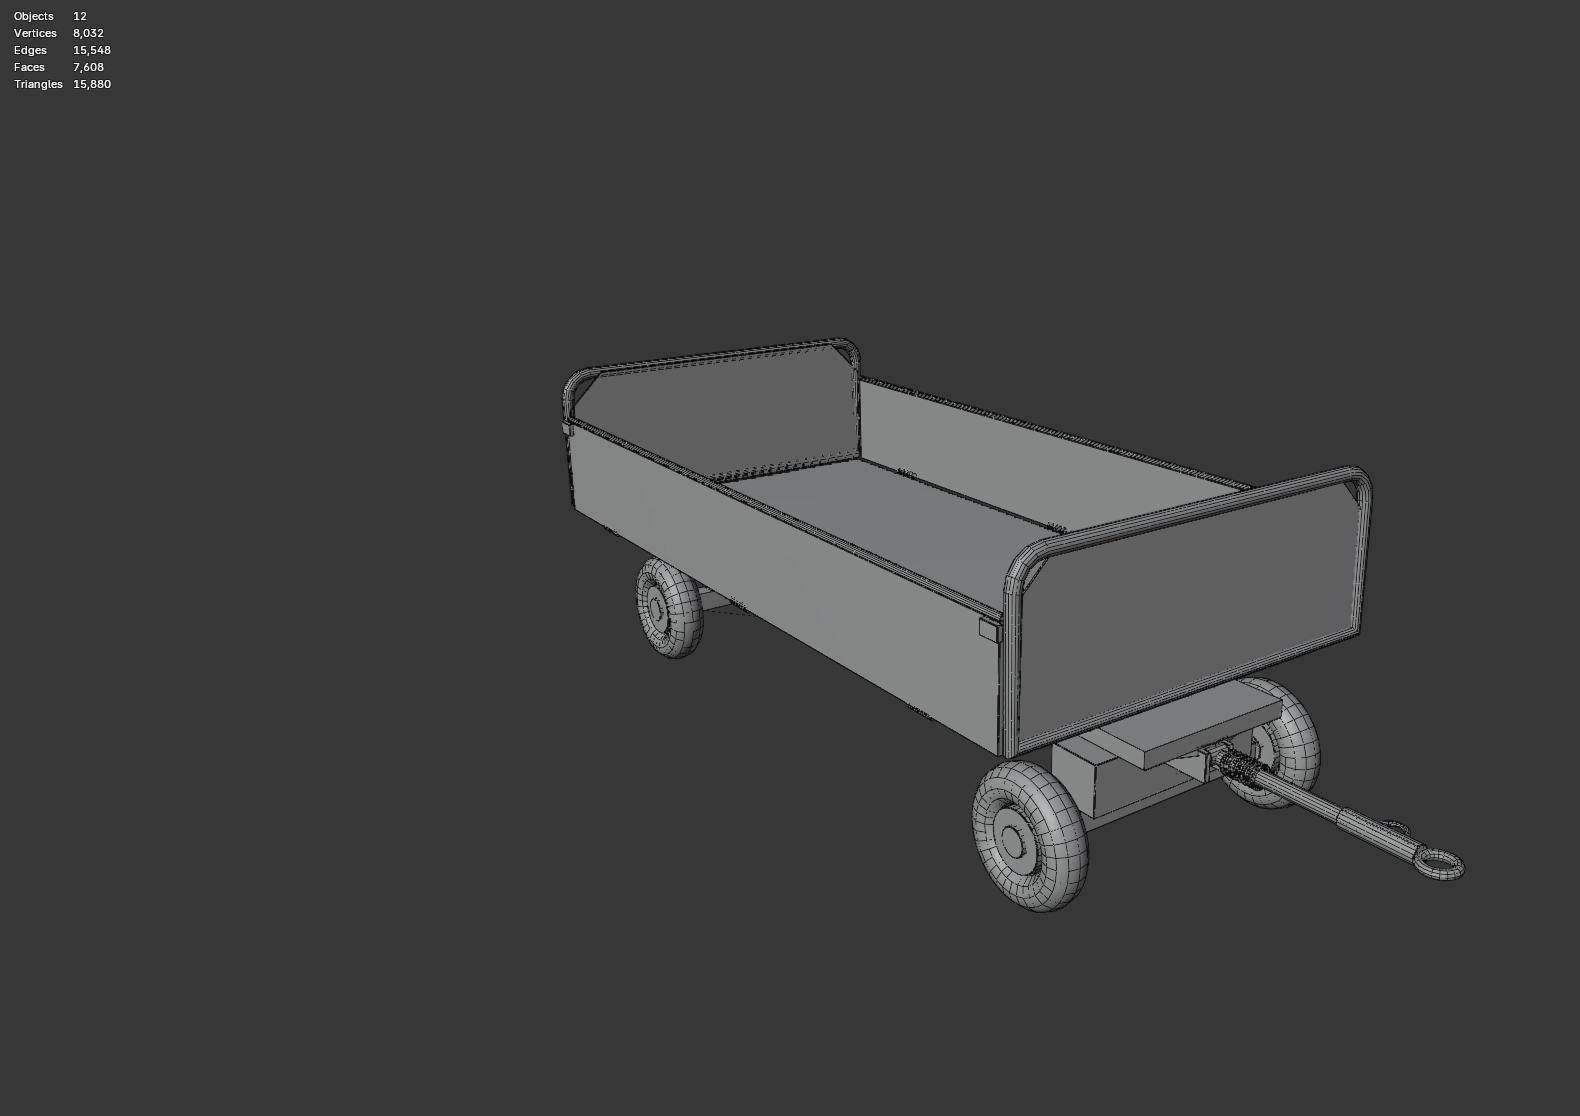
I modelled the cart mid-poly, with real bevels and weighted normals in place of a high-to-low bake. It shades cleanly at 15,880 triangles, inside the 15,000 to 20,000 budget I set at the start.
BEVELS
0.3 cm, 2 segments, 30° angle limit (50° on the drawbar)
SHADING
Weighted Normal modifier · no high poly
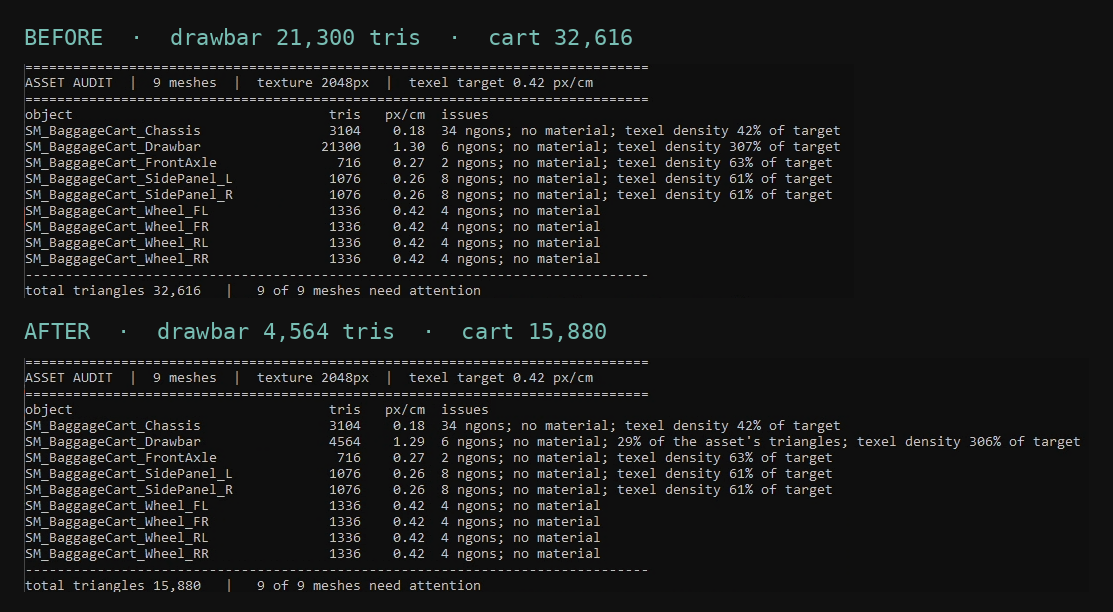
The drawbar was 65% of the cart
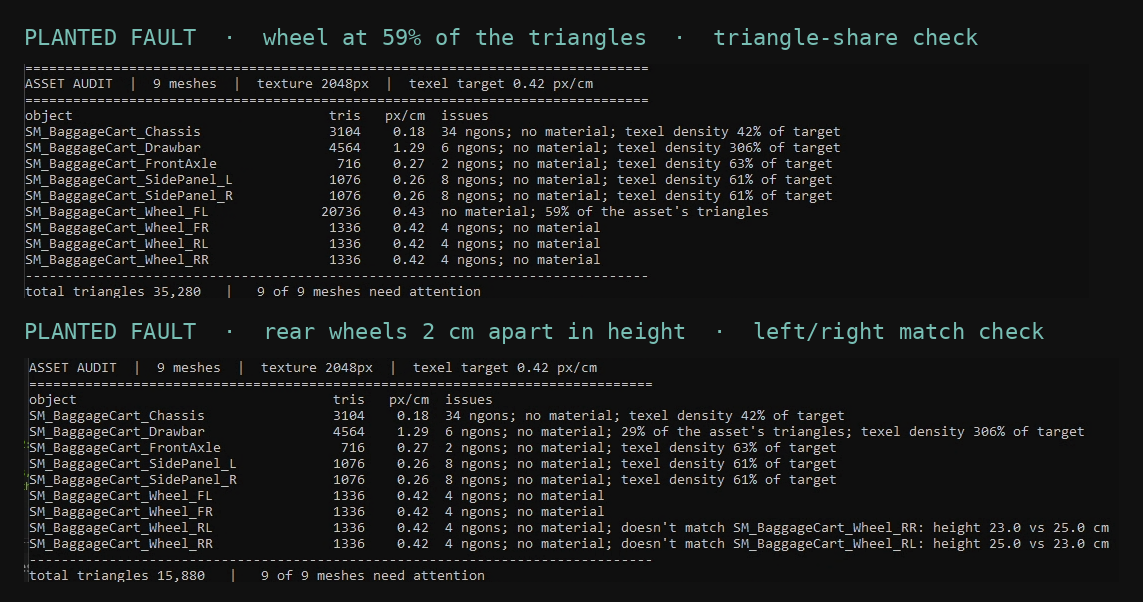
My first audit run put the drawbar at 21,300 triangles, 65% of the whole cart. The cause was the default torus resolution on the spring coils. Cutting the coil segments and raising the bevel angle limit brought it to 4,564, and the cart from 32.6k to 15.9k.
At 29% the drawbar is still the heaviest part. I kept it that way on purpose, because the spring is the most detailed part of the cart.
Audit output before and after the fix · run on the untextured mesh
Clay, no texturesLOD0 wireframe · 15,880 trisWireframe, front · drawbar and turntable
Texturing
Three 2048 texture sets: body, undercarriage and wheels. I matched the wear to photos of carts in service rather than catalogue shots, with steel showing at the edges, grime low on the frame and heavier dirt on the undercarriage and tyres.
MAT_BODY
Chassis and both side panels. Off-white paint, subtle steel edge wear, grime in the corners and low on the panels.
MAT_UNDERCARRIAGE
Front axle and drawbar. Light grey paint, heavier grime, yellow handle sleeve and tow eye.
MAT_WHEELS
All four wheels on stacked, identical UVs. Black rubber, off-white rims and hubs, dust.
TEXEL · BODY
3.30 px/cm
TEXEL · DRAWBAR
12.66 px/cm
TEXEL · FRONT AXLE
13.50 px/cm
TEXEL · WHEELS
22.82 px/cm
Lower texel density than the nose gear, on purpose
I planned to match the nose gear's density, then found a 3 m vehicle can't reach it on three 2048 sets. The cart reads at gameplay distance rather than in close-up, so I kept the set count and accepted the lower density instead of adding sets.
One front wheel stayed white
When the rubber layer went on, one front wheel didn't change. Toggling texture sets in Substance showed it had been assigned to mat_body. I reassigned it to mat_wheels, copied the wheel UVs across again, re-exported and re-baked. It's also the reason a material check is next on the audit tool's list.
Tech art: vehicle readiness check
I extended my Blender audit tool with a vehicle readiness check. Before export, it verifies that the cart will rig and animate correctly. Blocking checks stop a mesh from exporting; advisory ones let it export and log the issue.
#
Check
Passes when
Type
1
Wheel pivot centred
Origin within 0.1 cm of the wheel's own centre
Blocking
2
Spin axes agree
All four wheels spin around the same local axis
Blocking
3
Hierarchy correct
Front wheels and drawbar under FrontAxle, everything else under the root
Blocking
4
Rotation applied
No leftover rotation at rest
Blocking
5
Wheel size matches the real tyre
Diameter 46 cm, within 1 cm
Advisory
6
Triangle share
No single mesh over 25% of the asset's triangles
Advisory
7
Left and right wheels match
Same diameter, height and distance from the centreline, within 0.1 cm
Blocking
All the settings sit at the top of the script, including the wheel name pattern, the front axle's children, the tyre diameter, the tolerances and the triangle-share limit, so it works on any vehicle, not just this cart.
Proving it on a broken copy
To prove it works, I made a broken copy of the cart with one fault planted for each check. Every check caught the fault planted for it.
The triangle-share check came from the drawbar. I'd spotted that problem by eye, so I made it something the tool catches for anyone.
On the finished cart, the audit reports no blocking issues on any of the nine meshes. The advisories left are ngons, which are triangulated on export, texel density spread between parts, and the drawbar at 29% of the triangles, which is the trade-off explained above and exactly what an advisory is for.
Two of the planted faults, caught · run before texturing
Known limitations
The cart found a bug in the tool itself. Its final run reported texel density about 100 times too low, because the script assumed one Blender unit is a metre and this file works in centimetres (Unit Scale 0.01). The fix converts the measured area using the scene's unit scale. After the fix, the cart measures 3.30 to 22.82 px/cm. The pivot and size checks weren't affected, because their tolerances are already in centimetres.
The texel target is the median of all meshes, so it shifts when one mesh changes. A fixed target is planned for v1.2.
Triangle share is relative, so one heavy mesh can hide another. A fixed triangle budget is planned for v1.2.
There's no material check yet. The wheel with the wrong material got through, and a check that all wheels share one material would have caught it before Substance.
Vehicle readiness check: checks 1 to 6 typed by me with step-by-step guidance from an AI assistant; check 7 written independently. Tested on my own production file and on deliberately broken copies.
Problems worth naming
What broke during the build, how I found it, and the fix.
01A plate that shaded black. An extruded plate went black after Shade Smooth. I rebuilt it from a cube and added a Weighted Normal modifier.
02Side panels 8 cm too low. Checking against the reference showed it. I rebuilt them with the hinge pivot at Z 62.2 cm.
03A mirrored panel with a scale of −1. The transform panel showed it on SidePanel_R. I applied the scale and renamed the part.
04Four wheels, one mesh. A mesh-data name check showed all four wheels still shared one data block. I made each one single-user, then named it.
05A tyre strip outside the UV square. Follow Active Quads left the tread strip outside 0 to 1. I packed the islands, then copied the UVs to all four wheels again.
LODs
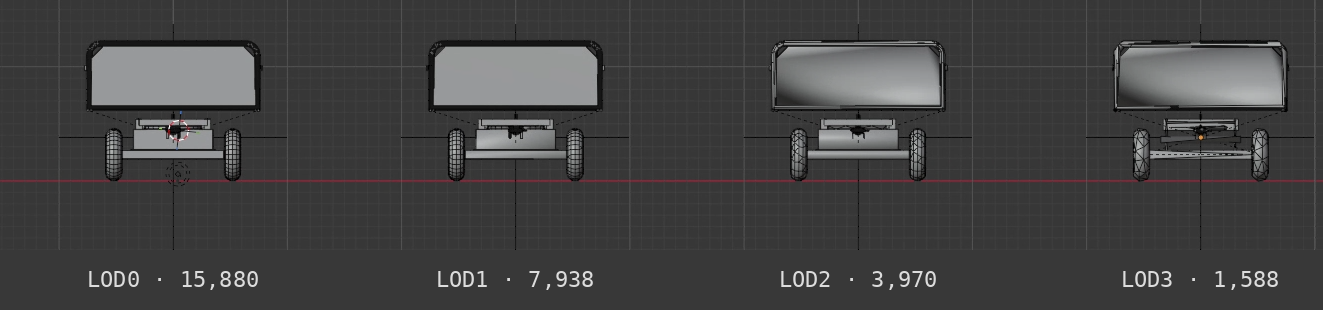
Four levels at 50%, 25% and 10% of LOD0. LOD1 drops the bevels to one segment, and LOD2 and LOD3 remove them before a collapse decimate. Every LOD keeps the same pivots, hierarchy and texture sets, so the rig works at any distance. LOD1 to LOD3 were generated from my LOD0 by a short Blender script and checked by eye.
LOD0
15,880 tris
LOD1
7,938 tris
LOD2
3,970 tris
LOD3
1,588 tris
LOD0 to LOD3, front view
Pairs with
The cart and the A320 nose landing gear are two aviation ground assets built to the same pipeline and checked by the same tool.